After being invited for a family get together at my parents place especially with all my siblings coming over, I decided to make sushi appetizers for them also knowing how my brother loves sushi, it would be great criticism to see how he likes my versions taking in the fact that he has been to many sushi bars.
My inspiration was from the amazing cookery book by the famous Iron Chef, Masaharu Morimoto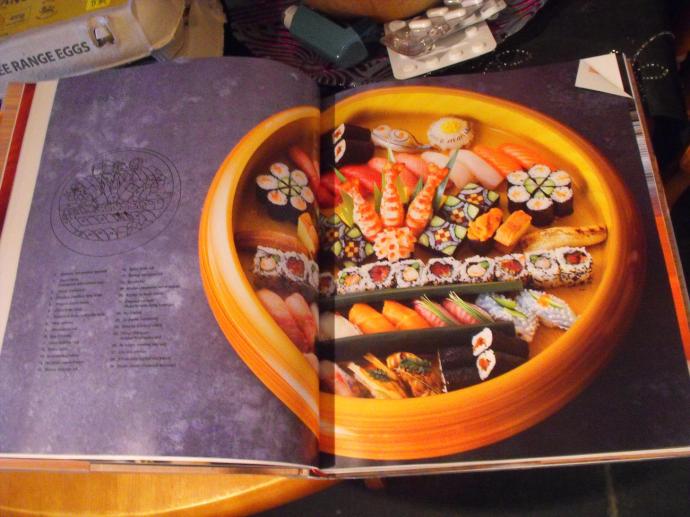
called ‘The New Art of Japanese Cooking’.
My only problem was at my local supermarket, they didn’t sell Sushi rice! Which is the main importance of sushi art, the rice has to be good quality and mixed in a certain way to enhance the sushi. Rice is very important in Asia so I didn’t want to mess it up! But since the supermarket didn’t sell any good quality sushi rice, I had to settle for Arborio rice which is quite starchy and is short grain rice, the closest I could find (taking into account that the first time I made sushi I did it
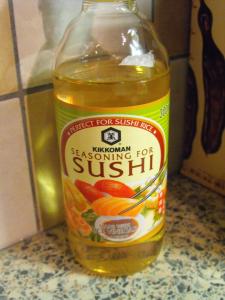
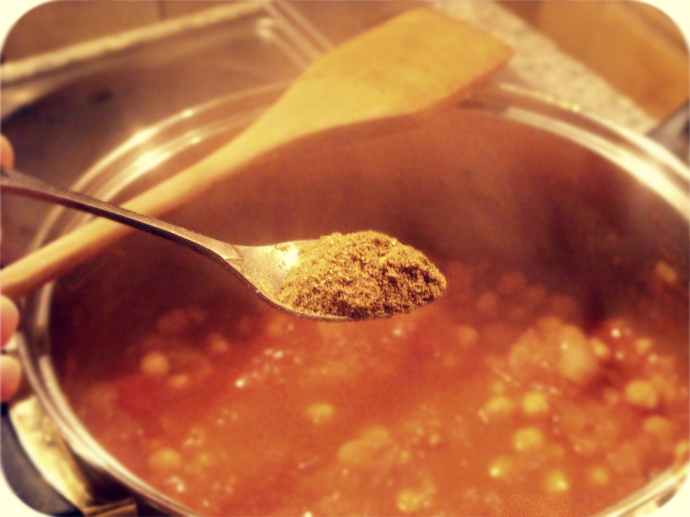
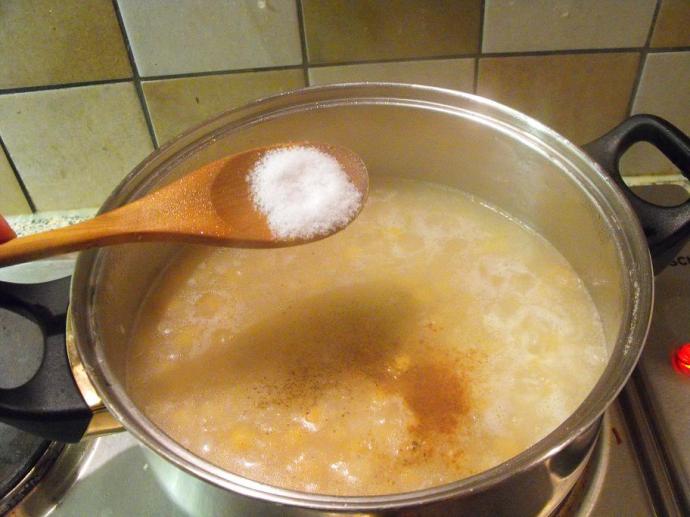
Sushi seasoning for the rice
with basmati rice, mega fail, the rice fell apart afterwards).
For my ingredients, I bought Nori seaweed sheets from a multicultural store and
ready made Sushi seasoning to add directly into your cooked rice. Nori is very beenficial for you, high in vitamin A and B and calcium and iron!
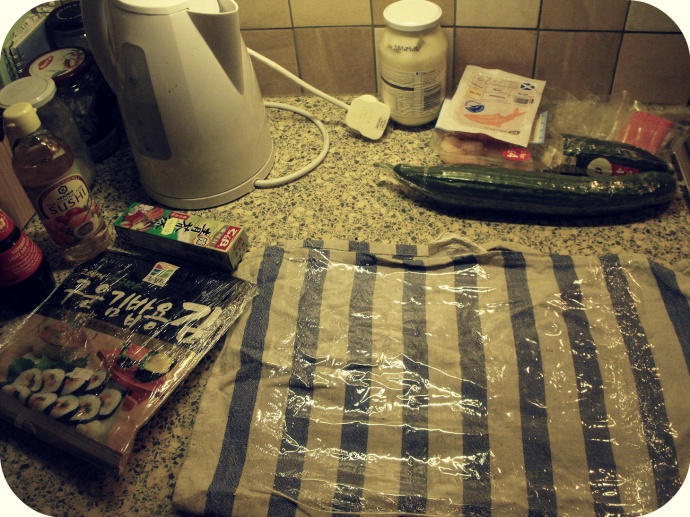
My set up
Usually in sushi making, they use bamboo roll mats which makes it much easier to roll out the sushi into a nice neat roll. Unfortunately they don’t sell these nearby and I had no time to order from the net as I prepared the sushi the same day we were going to go to my parents house. So a towel and some cling film did the trick for me. Note: make sure you are in a relaxed environment and I realized the most important aspect of making sushi is to have fun with it, eexperiment a little and enjoy it!
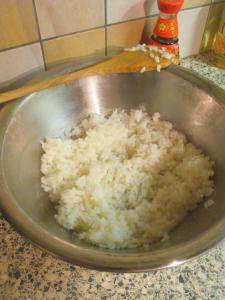
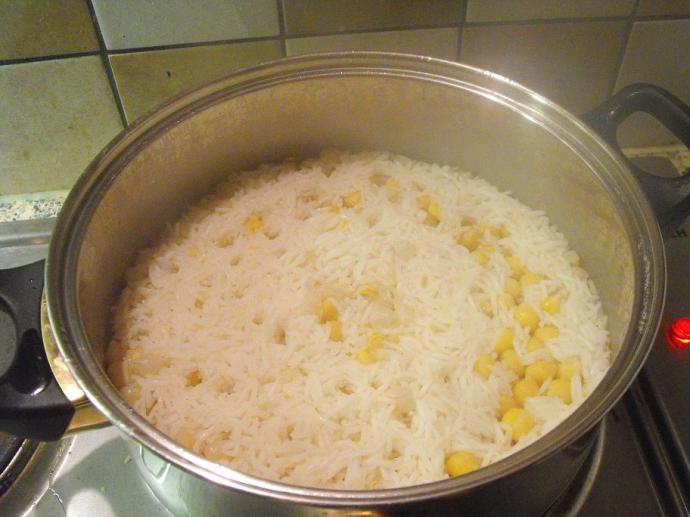
First thing is to cook your short grain rice. I simply boiled half a cup of rice with 1 cup of water. Once cooked, I transferred the rice into a bowl (usually its best to use a wooden bowl for this part) and add your sushi seasoning and carefully mix into the rice. But the mixing technique, isn’t simply folding the rice, it’s more ‘chopping’ the rice by spreading it along the bowl and taking out any clumps, for a nice even texture.
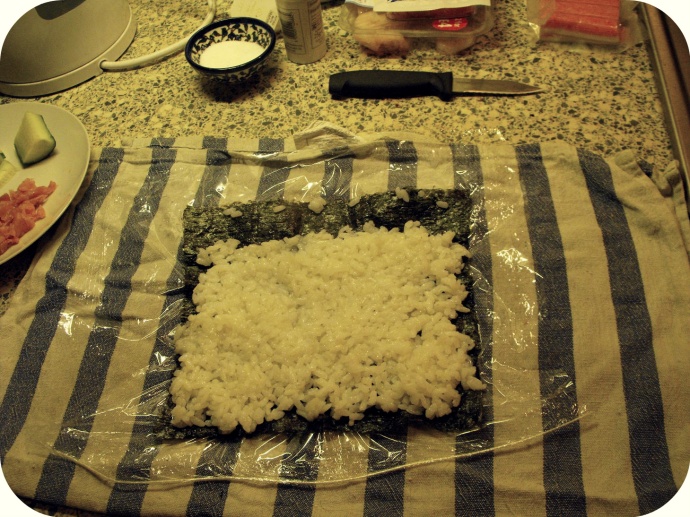
Next step, place your Nori sheet onto your cling film, rough side up. And using your hands (make sure to wet them first to prevent the rice sticking to your hands!) and spread evenly onto your Nori sheet. Making sure there is a 1inch gap at the top, then using small grains of rice, place them on the top line as shown in the picture. These will help the roll to stick.
Now the fun part!
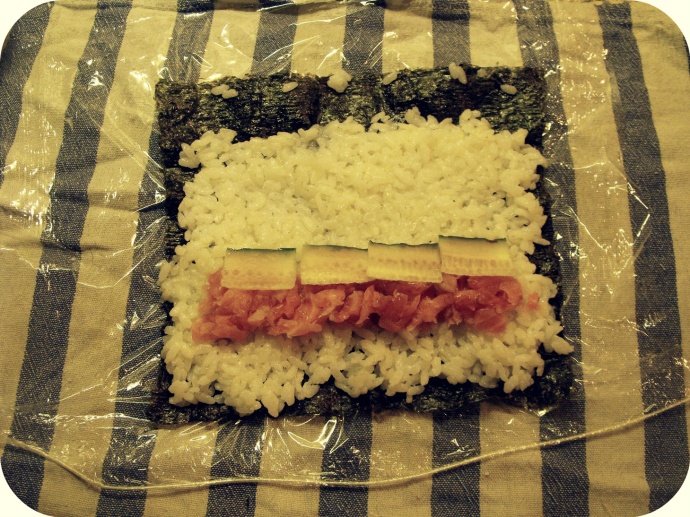
Start adding your fillings, for this one I chose Smoked Salmon (one of my favorite ingredients) with slices of cucumber. Now for a traditional sushi roll, on the side I mixed light soy sauce with a pinch of wasabi paste and spread the sauce very lightly and evenly along the cucumber, not too much as wasabi can be very strong and this was going to be served to family members that have never tried sushi also. Note: try not to overfill as the sheet can tear when rolling.
Next, start slowly and carefully rolling your Nori sheet from the bottom end first making your way to the top. Make sure your slightly firm when rolling so insure it all sticks together.
Once rolled into a now-looking sushi roll. With a sharp knife, water it down a little so it doesn’t stick when slicing. Then slowly slice the roll into small chunks and place into your prepared serving plate. Try to slice each chunk in the same width. Don’t worry if they don’t look even as mine didn’t either when I first tried making sushi!!
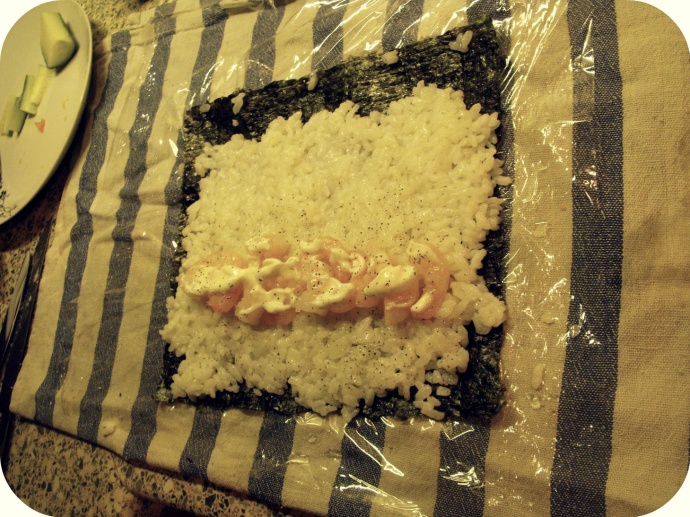
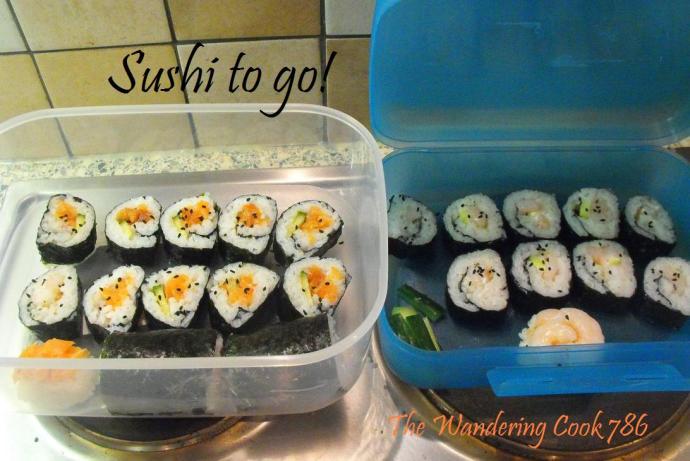
Second fillings for those that are first-comers to sushi: Prawns with mayonnaise seasoned with salt & pepper, a good idea for introducing a healthy sushi snack to children!
With leftover sushi rice, I also ended up making fat sushi rolls with crab-sticks!
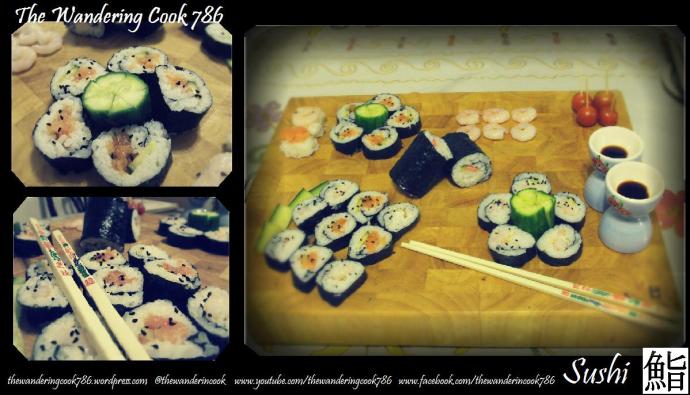
Then once plating up, you can have even more fun!
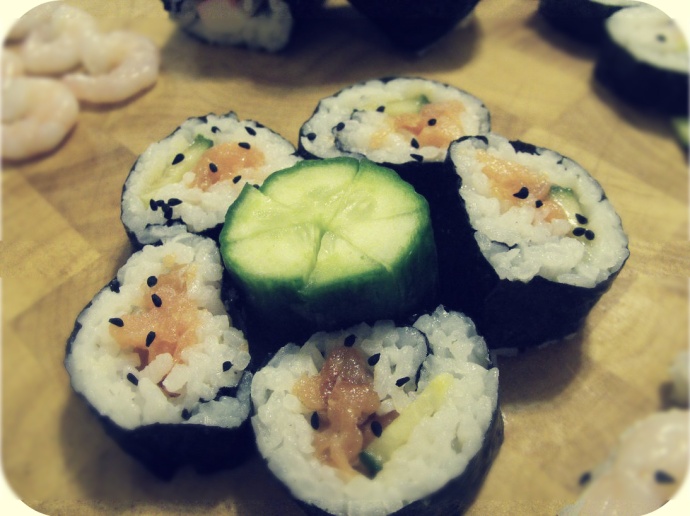
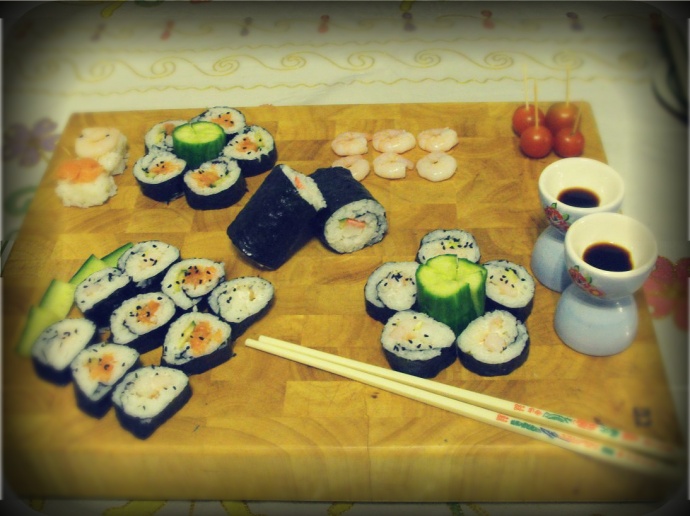
Also decorated sushi with black sesame’s and using decorative egg cups to hold the soy sauce and wasabi mix.

Where else you can find me:
Facebook, where I always give a sneak peak of whats to come before posting on my blog:
www.facebook.com/thewanderingcook786
YouTube, where you can find video tutorials of my recipes
www.youtube.com/thewanderingcook786
Twitter, where you can tweet me your versions of sushi or any other recipe on here!
@thewanderincook
xxxxxxx The Wandering Cook 786 xxxx
P.S
Oh and the criticism my sushi-loving brother said about the sushi I made, “very yummy please make more!!” Went down a treat with the family, especially those that were new to sushi. Also a good idea to add a drizzle of lemon juice on top when eating sushi, a tip I learnt from my family when they tried my sushi.


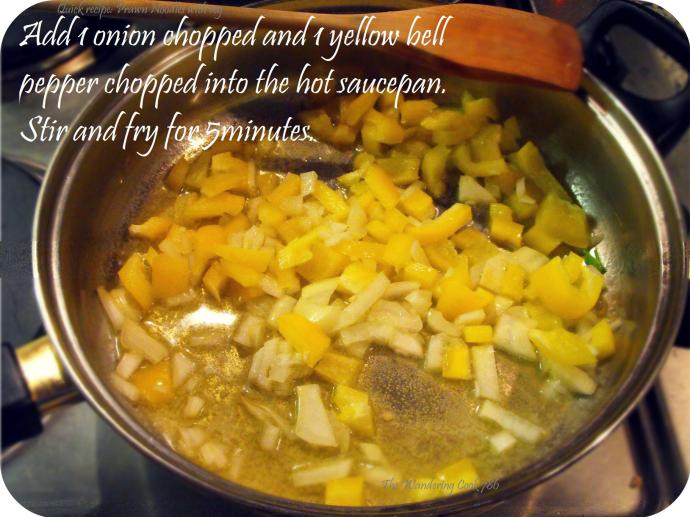
 1 onion